Staircase Installation
Introduction

Getting the staircase installed is a major milestone in the conversion process, it connects the loft space to the rest of the house and the loft now starts to feel like another room. From a planning perspective its the installation of a set of permanent stairs that defines the new bedroom as a bedroom rather than storage space. There were a few jobs that need to be addressed before we were ready for the stairs to be installed, I'll explain each step in detail.
Removing the Old Airing Cupboard

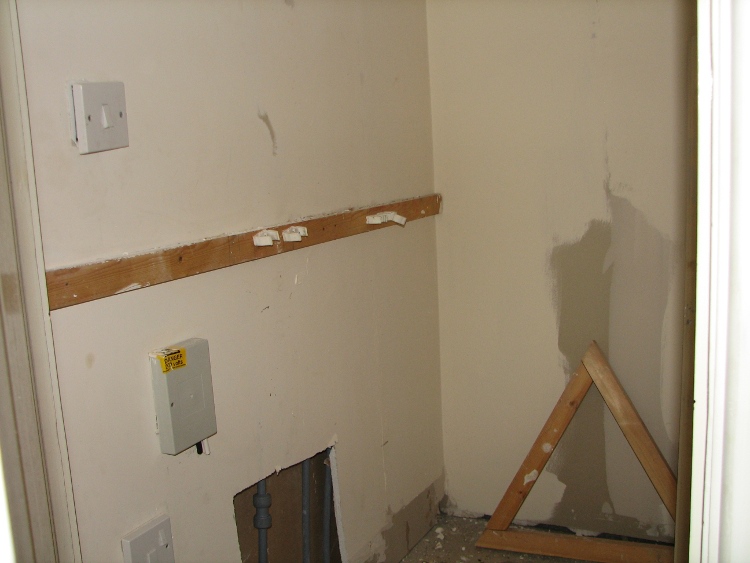
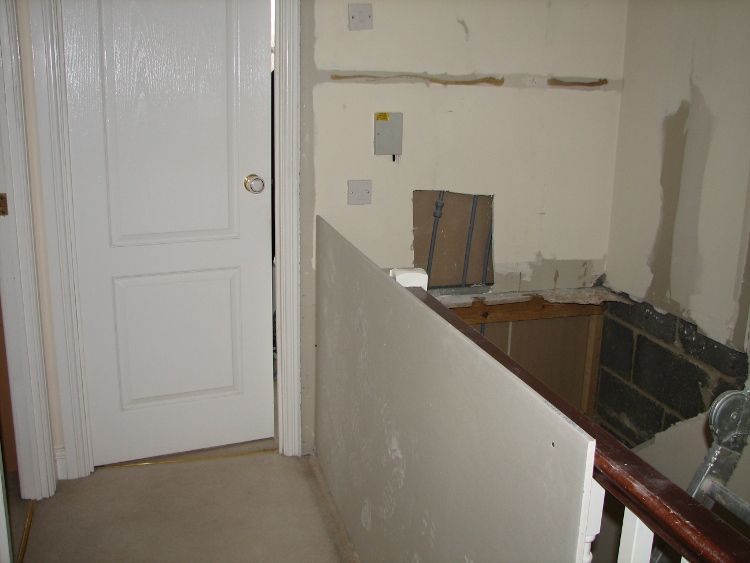
The first step is to remove the old airing cupboard. Previously this housed the hot water cylinder, this is no longer required as we now have a Worcester Bosch combi boiler that will provide hot water on demand. The plumber removed the tank and pipework as part of the boiler installation. Removing the airing cupboard is a fairly easy task as it is only constructed from light timber and plasterboard. Once the cupboard was removed it left a large gap in the banisters over the stairs so a sheet of plasterboard was fixed across as a temporary measure to prevent any accidents.
Opening Up the Ceiling

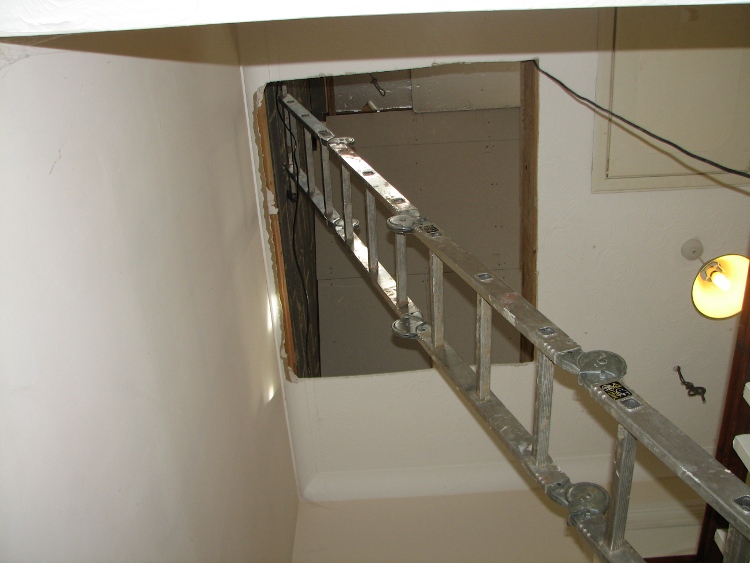
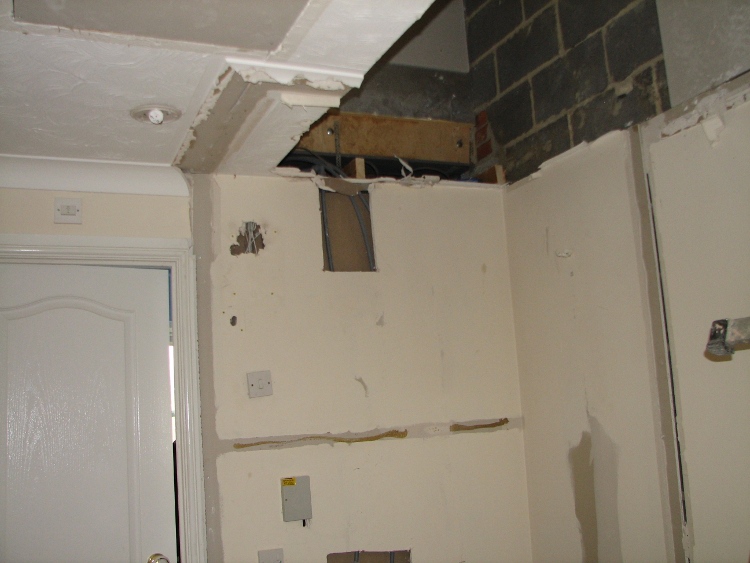
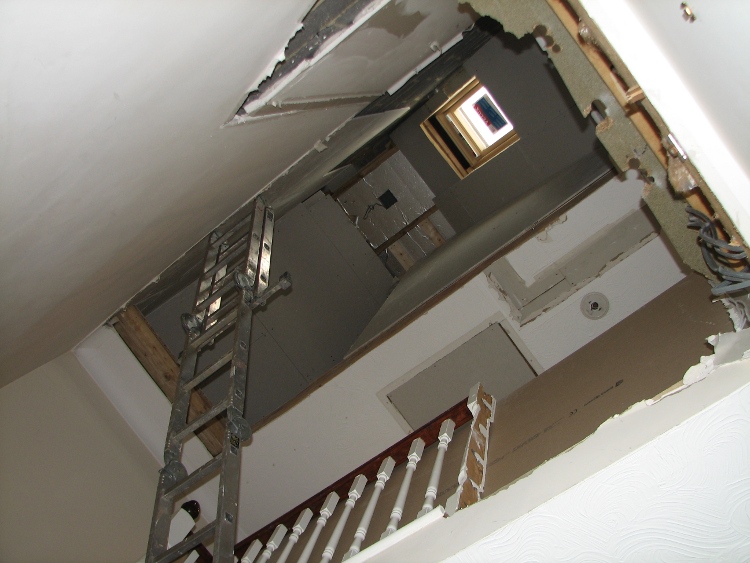
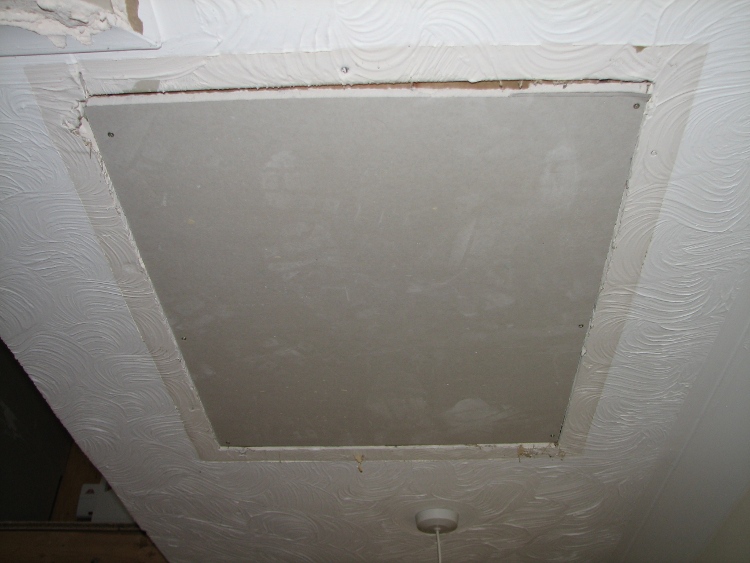
With the airing cupboard removed it was now time to make an opening in the ceiling where the stairs would go. There was already an opening made that was being used for access, so it was just a case of removing some more plasterboard and ceiling joists to make the opening the correct size for the staircase. The opening for the loft hatch is no longer required and was covered with a sheet of plasterboard ready for plastering later on. With the ceiling removed you could stand at the bottom of the stairs and see all the way up to the roof.
Getting Light Into the Stairwell

To ensure the stairwell had plenty of light a small Velux was installed. Make sure that the Velux is installed on the correct side of the roof, you want the light to ideally shine perpendicular onto the stairs, if the Velux is installed on the other side you get shadows from the stairs. The only exception might be if one side of the house is south facing you might prefer to go for the maximum amount of light, or you could of course install a small Velux on both sides. There is a short video clip showing the space where the new staircase will be installed at the bottom of this page.
Installing the Stairs
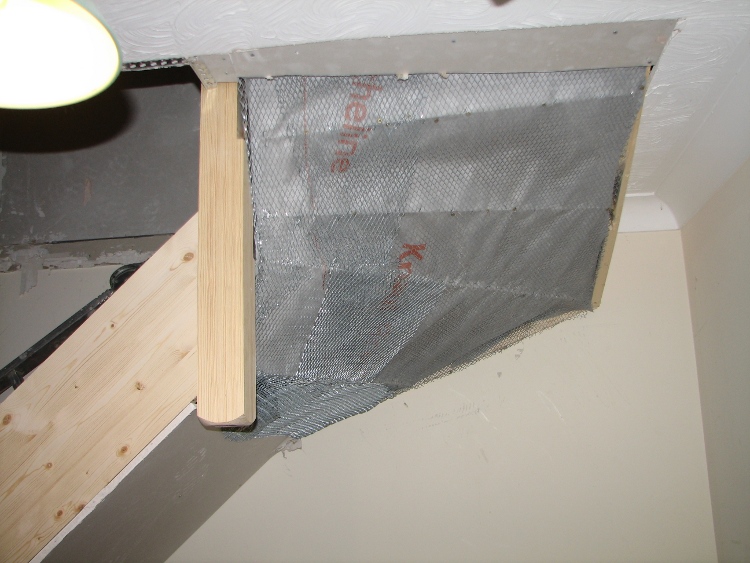
Everything is now ready for the stairs to be installed. A local stair specialist company were contracted to build the stairs. They had previously been round to measure up and used computer software to design the stairs. All the parts were made in advance at their workshop, the actual installation was surprisingly quick taking only around 2 days in total to complete. The diagonal 'strings' are installed and then the treads and risers. Glue is often used on the treads and risers for extra strength, if possible try to avoid using the staircase for 24 hours until the glue has set fully. Our stairs had two sets of winders to take the stairs through two 90 degree turns, this is in keeping with the existing set of stairs that connect the ground and first floor. We had the basic staircase installed first and the spindles, newel posts and handrails were installed at a later date. The underside of the stairs were covered with plasterboard and wire mesh ready for plastering.
Video - Preparing for the Staircase
In the short video below you can see the area where the new staircase will be installed. Where you see the gap in the handrail is where the first treads of the new staircase will be.