Structural Timber Work
Introduction

Now that the steels are in place work can start on removing the trusses and putting in the additional timber work that will transfer the roof load down onto the steels. At this stage most of the work is fairly straightforward carpentry, those working on a DIY loft conversion should find this stage fairly easy. Note the building the staircase is a highly skilled task that is probably best left to a specialist stair firm, as was the case with this conversion. So lets look in more detail at the work completed during this stage.
The cold water and central heating expansion tank were still in place at this point and needed to be removed to allow work to continue. Removal of the tanks was simply a case of removing them and capping off the pipes as the boiler was being replaced with a energy efficient Worcester Bosch gas boiler . We went for the Greenstar 37CDi which boasts an impressive 90.2% A-rated efficiency.
Removing the Trusses

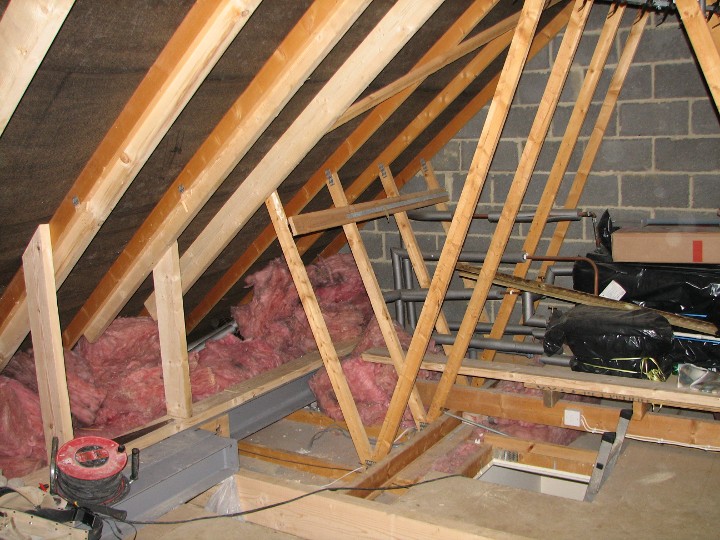
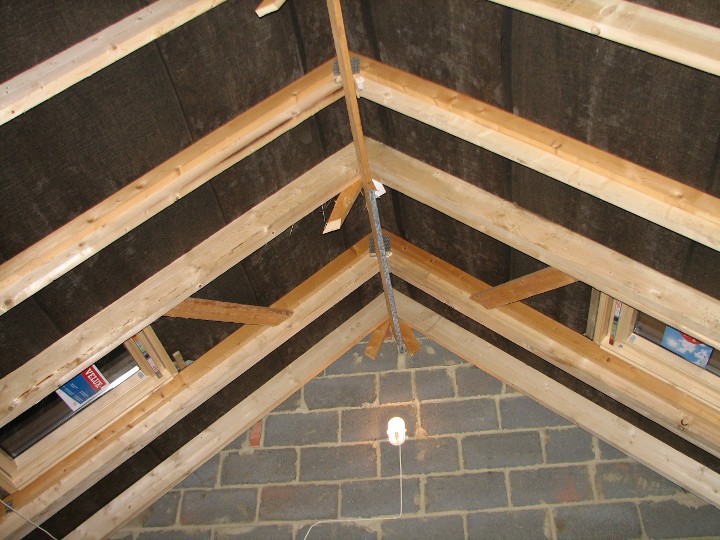
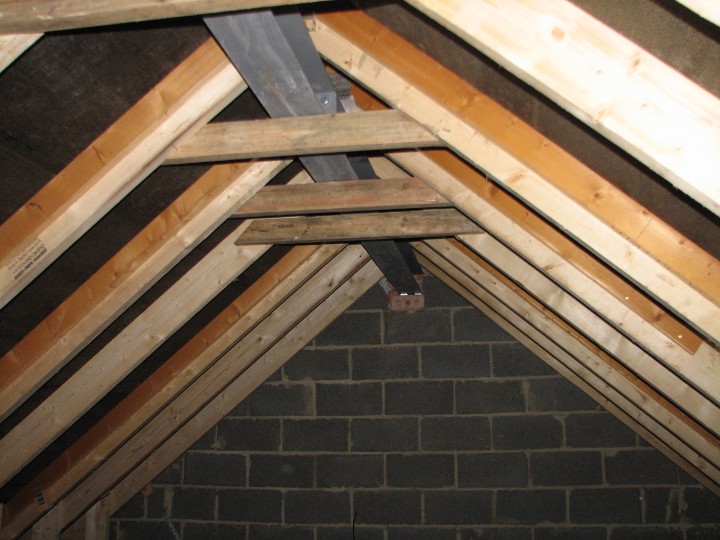
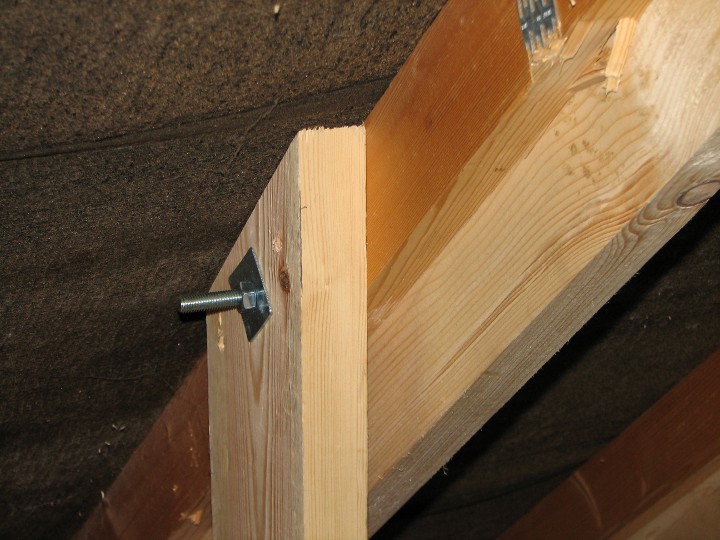
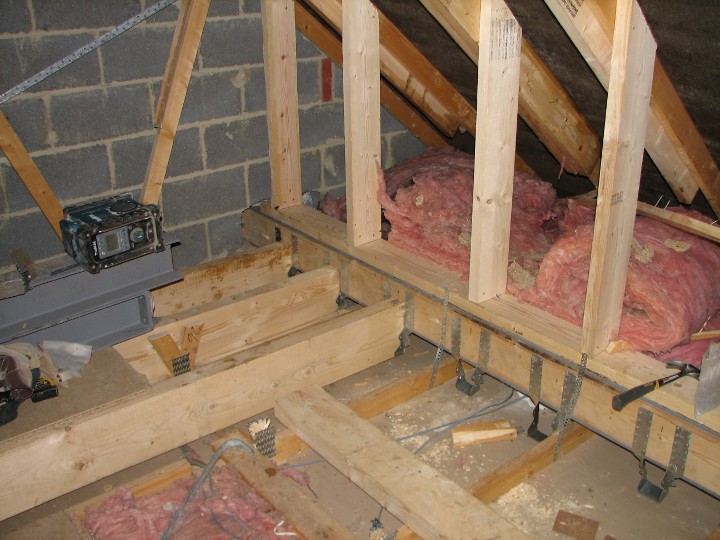
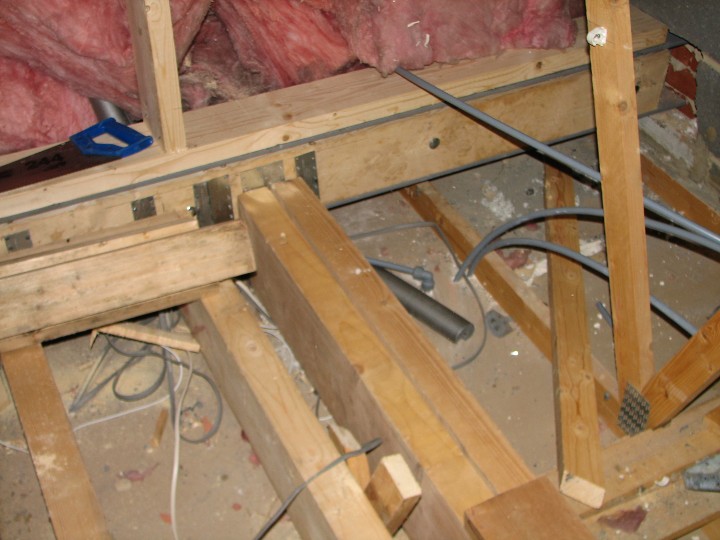
In the photo you can see that some of the 'W' shape trusses are still in place. The approach taken was to remove the trusses as the additional supporting timbers were put in place, this is the safest approach as it ensures that the roof structure is not left in a weakened state. The additional timbers form a 'shell' around what will become the new bedroom, this transfers any existing loads down onto the steel RSJs and then onto the walls of the house. New rafters were bolted the existing rafters, although as you will see from the photos the new rafters are considerably bigger than the originals. In the photos you will also see that the RSJ to support the ridge has also been put in place, this steel was in two sections and needed to be bolted together in the middle. Scroll down to the bottom of the page to see a video clip of the inside of the loft at this stage, unfortunately the video quality is not fantastic due to the poor light in the loft that day.
New Floor Joists

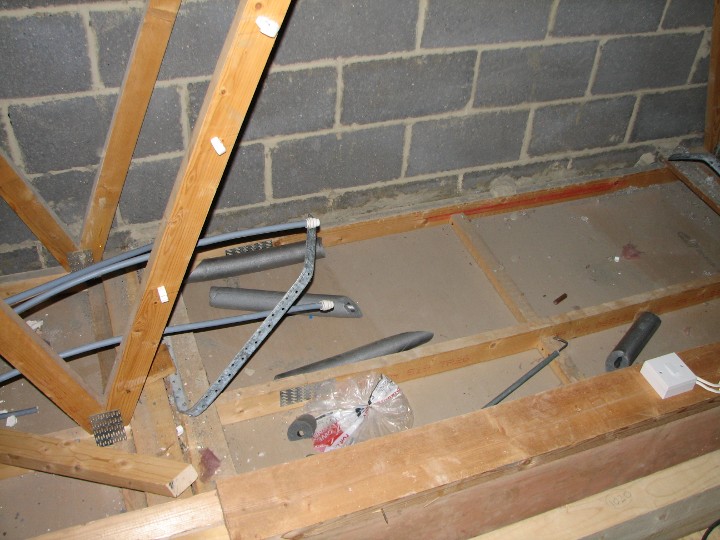
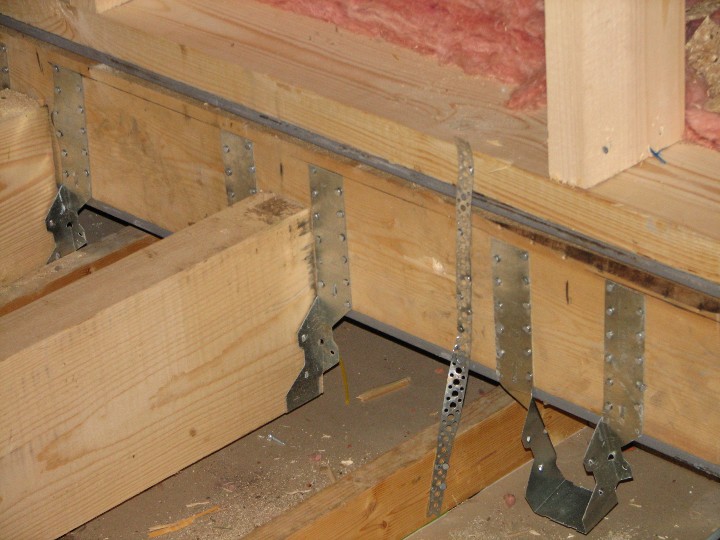
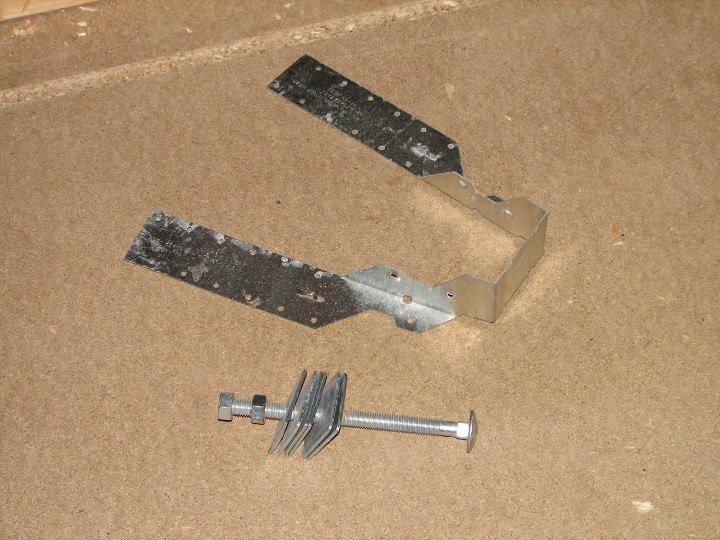
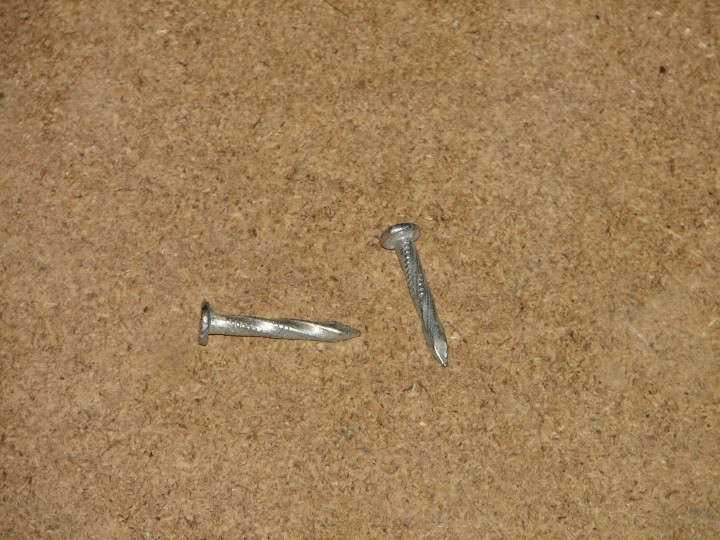
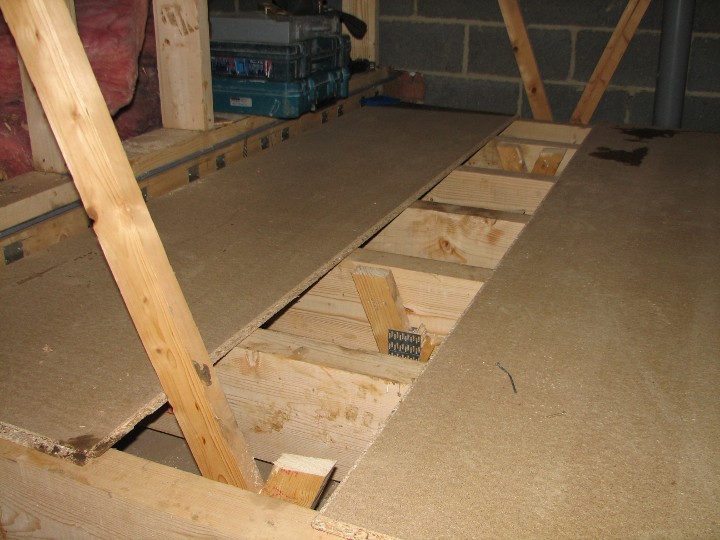
The steel RSJs are prepared to take the new floor joists by bolting timber joists into the 'I' of the beam. The RSJ had been pre-drilled so this was an easy task. Standard joist hangers are fixed to the timbers with square twisted nails. The joists that will run alongside and support the staircase are doubled up the take the extra load. In some loft conversions a flat piece of steel may need to be bolted in between the doubled joists to form what is called a Flitch Beam. Once the new floor joists are in position the water resistant flooring grade chipboard can be put down.
Video of the Loft Interior
In the short video below you can see the interior of the loft space with the strengthening timbers and floor joists nearly completed.